
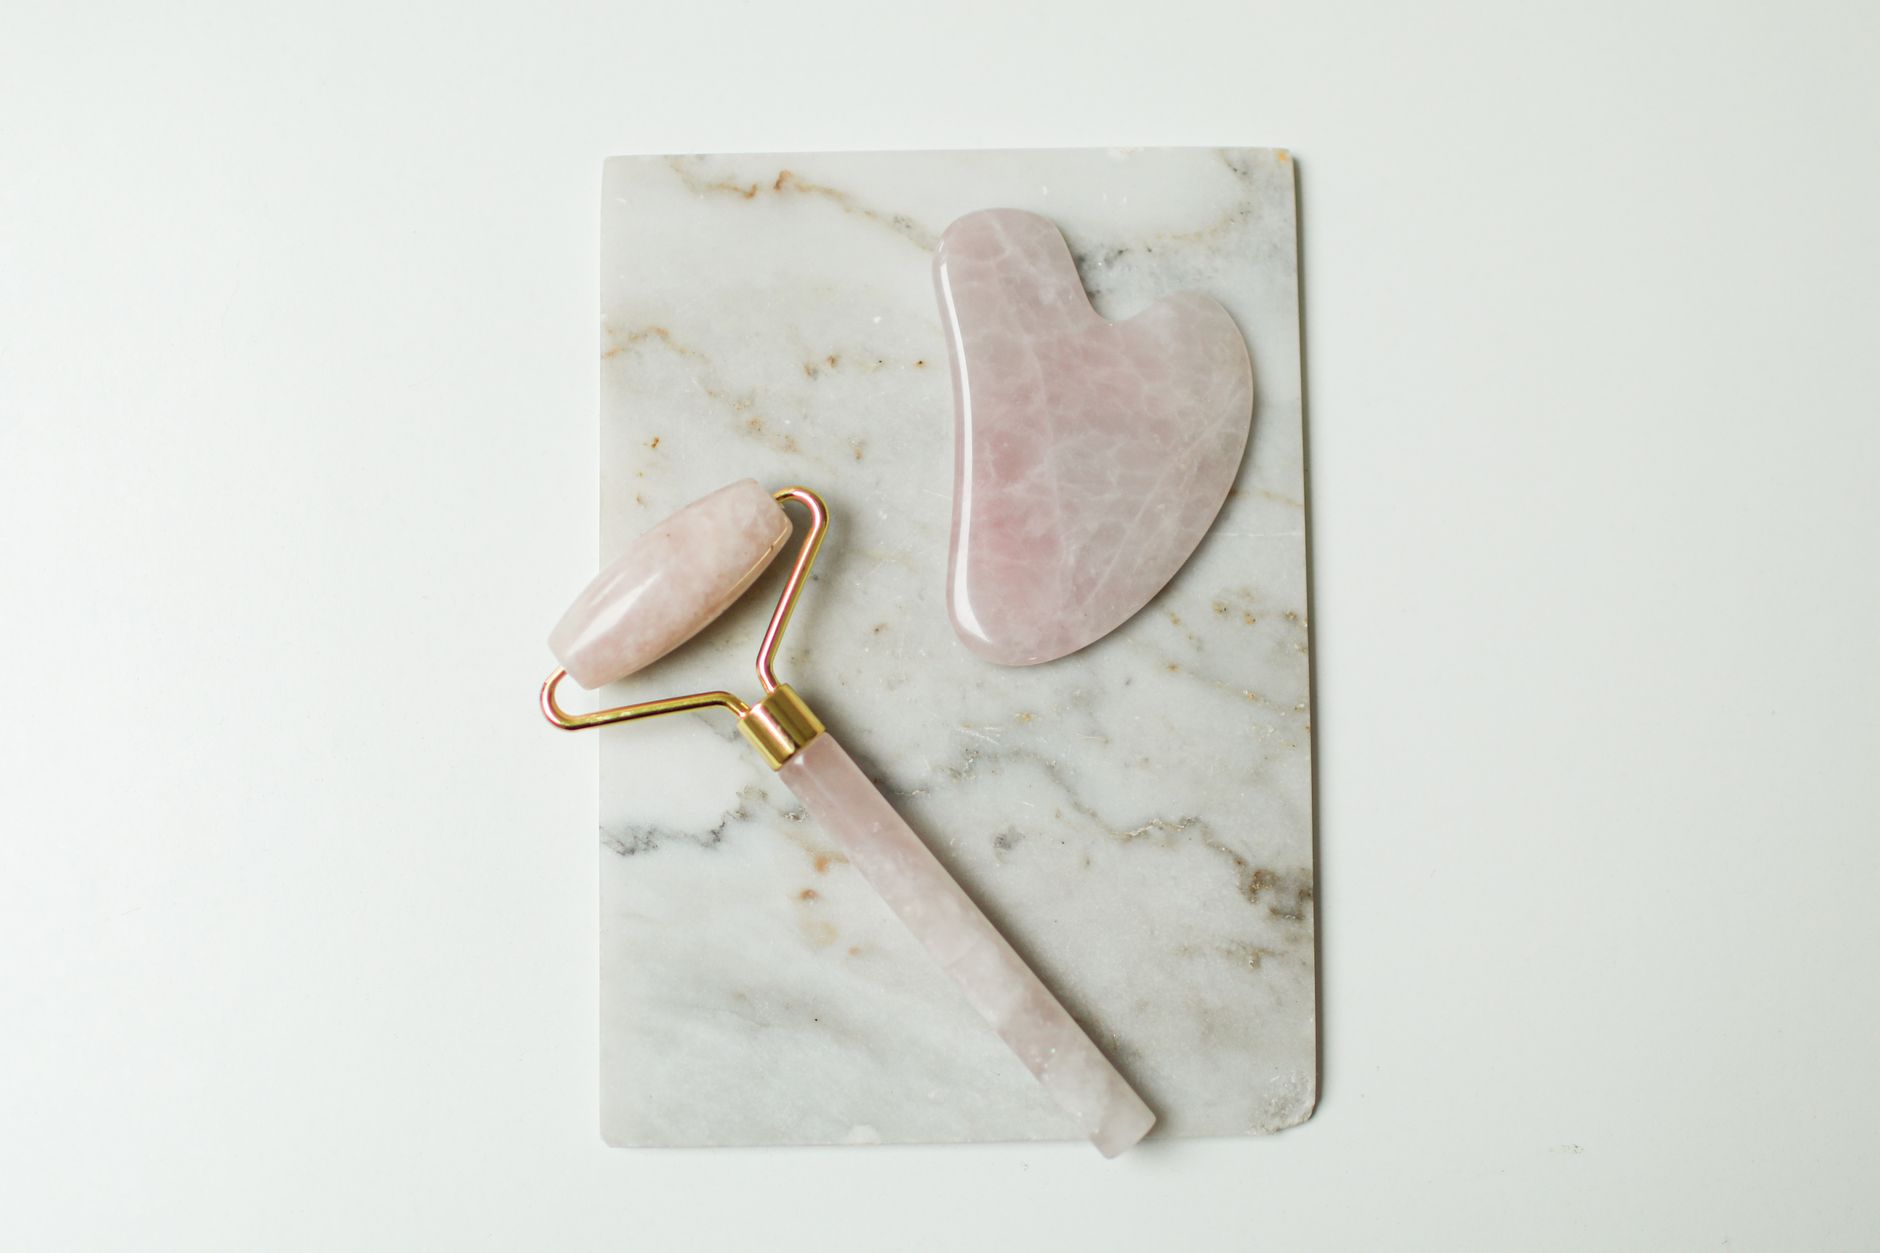
Gua sha has been part of traditional Chinese medicine for over 2,000 years. Practitioners use a smooth-edged tool, typically jade, rose quartz or bian stone, to apply firm, repeated strokes across the skin. The goal is to move stagnant energy and blood, reduce inflammation and ease muscular tension. In a clinical setting, gua sha targets the back, neck and shoulders. The facial version you see on social media is a gentler, adapted form of the same technique.
The name itself tells you the method. "Gua" means to scrape; "sha" refers to the redness or petechiae that appears on the skin during treatment. That mild redness isn't damage. It's the body's circulation responding to stimulation, and it typically fades within a day or two.
What gua sha actually does to the body
The main effects of gua sha fall into three areas: improved microcirculation, reduced muscle tension and better lymphatic drainage. Research published in the Journal of Alternative and Complementary Medicine found that gua sha significantly increases surface microcirculation in the treated area, and that this effect continues for several days after a single session.
For the face and neck, the lymphatic benefit is the most relevant. Fluid accumulates in soft tissue around the jaw, under the eyes and along the sides of the neck, particularly during periods of stress or poor sleep. Gua sha strokes, when applied in the correct direction toward the lymph nodes, help move that fluid through the system. This is why people who use it consistently report reduced puffiness rather than just better-looking skin. If you're interested in how lymphatic flow connects to broader health, the piece on lymphatic drainage massage covers the underlying system in more detail.
For the body, gua sha can be genuinely effective for chronic neck stiffness, upper back tension and headaches rooted in tight musculature. A 2011 randomised controlled trial published in Pain Medicine found that patients with chronic neck pain reported significantly greater pain relief after gua sha treatment compared to a control group receiving heat therapy.
Tools: what to use and what to avoid
A proper gua sha tool has a smooth, bevelled edge with no rough spots or chips. Jade and rose quartz are the most common materials for facial use. Bian stone, a type of microcrystalline rock from China, is traditionally used for body work and is thought to have far-infrared properties. Stainless steel tools are durable and easy to clean.
Avoid anything with a sharp angle or an uneven surface. A chipped tool drags and tears the skin rather than gliding. Ceramic spoons and smooth-backed metal spoons have been used as substitutes in a pinch, but a purpose-made tool gives you better control over the angle and pressure.
The Mind Body Green gua sha guide covers tool selection in practical terms if you want a detailed comparison before purchasing.
How to do gua sha at home: a step-by-step guide
For facial gua sha, begin with clean, well-moisturised skin. A facial oil or serum is essential. Gua sha without a slip product will drag the skin and potentially cause irritation. Choose a lightweight oil like jojoba, rosehip or squalane.
- Neck first: Always begin with the neck, working downward from the base of the skull to the collarbone, using light pressure. This clears the path for lymph to drain.
- Jawline: Place the flat face of the tool against the chin and stroke upward and outward toward the ear, using medium pressure.
- Cheeks: Stroke outward from the nose toward the hairline. Use the curved edge to contour under the cheekbone.
- Under-eye area: Use the smallest curve of the tool, applying very light pressure. Stroke outward from the inner corner toward the temple.
- Forehead: Stroke upward and outward from the centre, finishing at the temple.
Repeat each stroke 5 to 10 times before moving to the next area. The whole routine takes about 5 minutes. Three sessions a week is enough to see a noticeable difference in tone and puffiness over 4 to 6 weeks.
For body gua sha, the pressure is considerably firmer. Apply a generous amount of oil to the area, hold the tool at a 30 to 45 degree angle to the skin and stroke in one direction only. Work along the length of the muscle, not across it. The back, thighs and calves all respond well to this approach.
When to be cautious
Gua sha isn't suitable for everyone in every situation. Avoid it over broken skin, active acne lesions, sunburn or any area with known inflammation or infection. People taking blood-thinning medication should check with their GP before trying body gua sha, as the technique can produce petechiae more readily in those cases.
Pregnancy warrants caution too. Certain pressure points used in traditional gua sha are contraindicated during pregnancy, particularly on the lower back and inner legs.
If you're exploring gua sha as part of a broader self-care toolkit, it pairs naturally with other home practices. Acupressure, for instance, works with similar principles around energy flow and pressure points, and the two can be used in the same session without conflict.
What to expect after your first session
After a facial gua sha session, your skin may look flushed for 20 to 30 minutes. That's normal. Swelling around the jaw or temples often reduces visibly within an hour. Some people notice a light ache in areas where they carried tension they weren't aware of.
After a body session with real pressure, the sha (redness or minor petechiae) can take 24 to 48 hours to fade. It's not painful in the way a bruise is, but the area may feel warm and tender. Staying hydrated after gua sha helps the lymphatic system clear whatever the treatment has mobilised.
Consistency matters more than pressure. A light, regular practice produces more cumulative benefit than an intense session once in a while. Keep the tool clean by washing it with mild soap after each use, and store it away from direct sunlight to preserve the stone.